

You step out of your bathroom feeling confident about your makeup, but the outdoor light shows a completely different story. We’ve all experienced it. That perfect foundation now looks orange. The subtle eyeshadow has turned into an intense smoky eye.
Most homeowners care more about how their bathroom lights look than how well they work. Professional makeup artists know that lighting temperature plays a vital role in getting the best mirror setup. Bathrooms work well with color temperatures between 2700K and 3000K. Bright, clear light (5000K) works better for detailed tasks like makeup or shaving. Professional makeup artists suggest lights that give at least 150 watts of illumination. The lights should be placed to avoid shadows on your face.
This piece will show you what makeup pros know about creating the perfect space for flawless makeup. You’ll learn about color temperature and fixture placement that professionals have used successfully for years.
Why Lighting Matters More Than You Think
Lighting does more than just brighten your bathroom—it changes how your makeup looks. The right light can make the difference between perfect makeup and an embarrassing result.
How lighting affects your makeup results
Bad lighting can ruin your makeup routine. Overhead lights create shadows that might make you apply too much product. More importantly, yellow light makes you look exhausted and forces you to use extra concealer. Red light creates a false healthy glow that results in using too little product. Your skin looks washed out under fluorescent lights, which tempts you to overdo bronzer or blush.
The right lighting setup improves both the application and your confidence in the final look.
The science behind color temperature and CRI
Color temperature, measured in Kelvin (K), shows how warm or cool light appears. Experts suggest using fixtures with color temperatures between 4800 K and 5000 K. This range matches natural daylight perfectly without being too warm or cool.
The Color Rendering Index (CRI) is a vital measurement of how well a light source shows true colors compared to sunlight. Your makeup routine needs:
- Use lights with a CRI of 90 or above to see colors accurately
- Color temperature between 5000 K and 6500 K to see your real skin tone
- Brightness between 1000-1400 lumens to see clearly
Higher CRI values mean the light source matches natural sunlight better, which helps you apply makeup precisely.
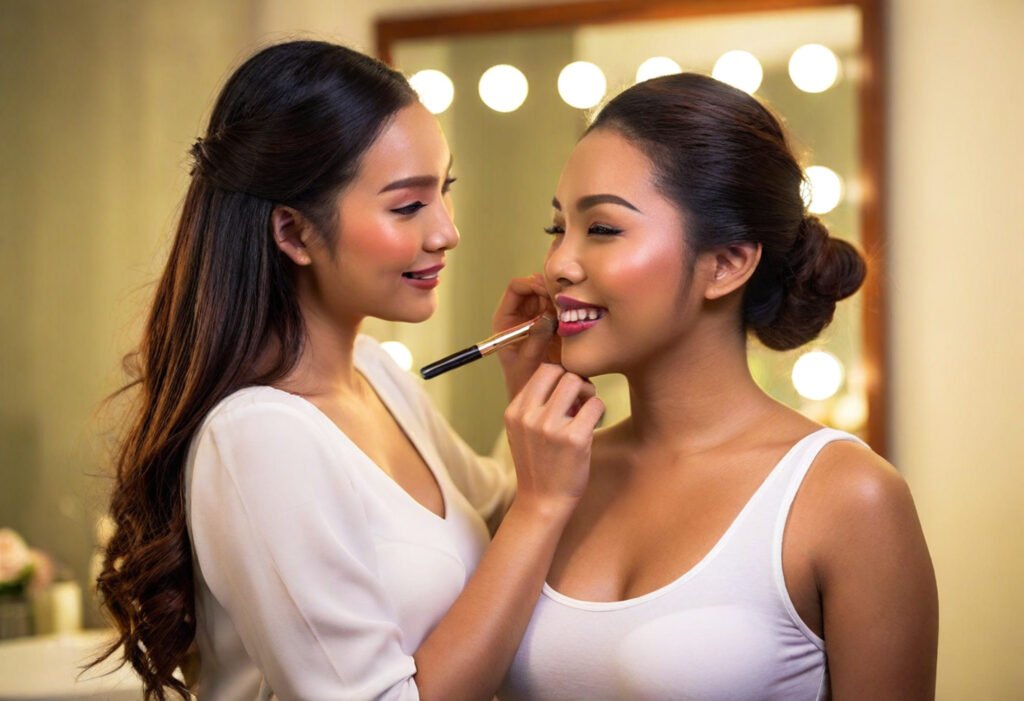
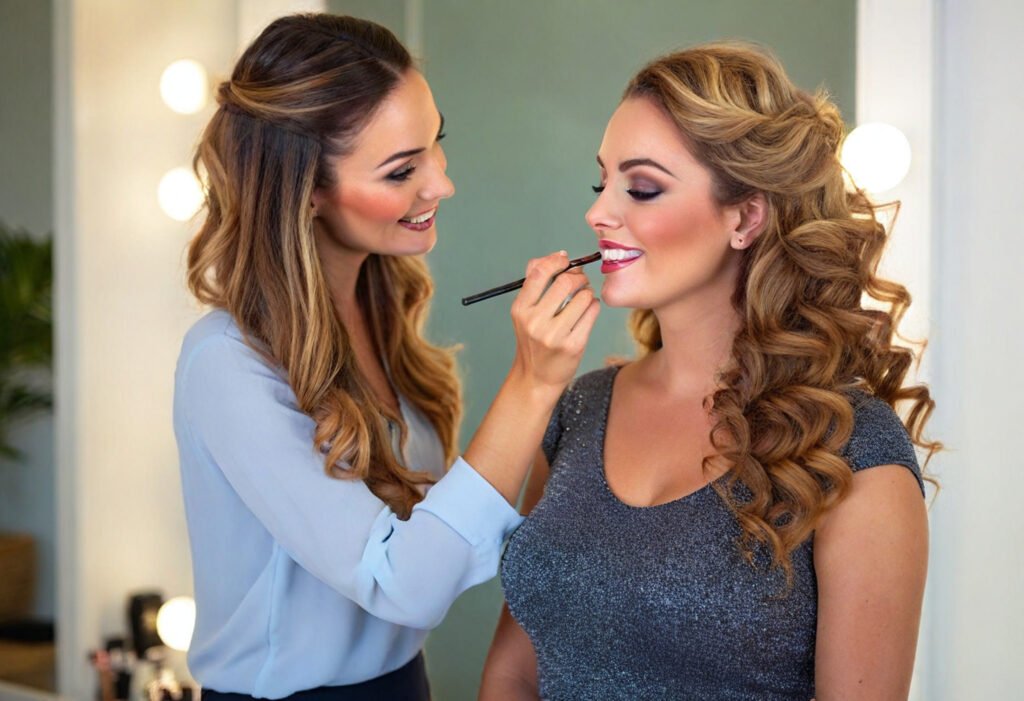
Why makeup artists obsess over lighting
Makeup artists know your eyes adjust to different lighting without you noticing. Your brain automatically “white balances” what you see, making white look white whether you’re in candlelight or sunlight.
Your eyes adapt to warm 3200K light, so you miss how much yellow-orange covers your face. This distortion affects your color choices and application technique.
Professional artists use neutral, full-spectrum, high-CRI light around 5200K because it serves as their “truth light.” This setup helps them match foundation, fix discoloration, and check texture accurately.
The 4 Lighting Secrets Makeup Artists Swear By
Professional makeup artists know that good bathroom lighting can make the difference between flawless and flawed makeup application. Their lighting secrets can help you turn your regular bathroom into a professional makeup station.
1. Use bulbs with a high CRI (90+)
Color Rendering Index (CRI) shows how well a light source displays colors compared to natural daylight. Makeup artists always pick bulbs with a CRI of 90 or above. This rating will give a true reflection of how your makeup looks in natural light. The higher CRI value means the light source matches natural sunlight better, which you need for precise makeup application. White LED and fluorescent bulbs give the best CRI scores.
2. Choose the right color temperature (3000K–5000K)
Your skin and makeup look different under various color temperatures. Professionals recommend bulbs between 4800K and 5000K because they match natural daylight perfectly. This range works best for makeup as it’s not too warm or cool. Your foundation won’t look orange from yellow light or make you look pale from blue light. The perfect balance lets you match foundation, check undertones, and blend colors with confidence.
3. Avoid overhead-only lighting
Most bathrooms come with ceiling lights that cast shadows under your eyes, nose, and chin. These shadows make the texture look worse and can ruin well-blended makeup. Face-level light sources work much better than overhead lights alone. Makeup pros prefer this setup because it lights your face evenly without shadows.
4. Use side lighting for even face illumination
The best bathroom mirror lighting has vertical LED strips or globe bulbs on both sides. This setup prevents dark spots at your temples, jawline, and cheekbones that single lights often miss. Side lighting spreads light evenly across your face. Professional artists often use two lights on opposite sides to create perfect lighting without shadows.
Designing the Best Lighting for Bathroom Mirrors
The right vanity lighting placement can turn a basic bathroom mirror into a professional makeup station. You’ll see yourself clearly without misleading shadows or color distortions with proper positioning.
Ideal placement for vanity lights
The American Lighting Association suggests mounting vanity lights 65 to 70 inches from the floor at eye level. This height gives you even facial illumination and reduces shadows. Your fixtures should be 28 to 30 inches apart for the best results. The optimal height becomes 78 inches from the floor when you install lights above the mirror. Narrow bathrooms with sconces on side walls should follow the same 65-70 inch height guideline to maintain consistent lighting.
Vertical vs. horizontal fixtures
Side-mounted vertical fixtures create the most flattering and functional lighting setup. These sconces distribute light evenly across your face at eye level, which helps significantly with makeup application. Most people use horizontal fixtures above the mirror, but these can cast shadows by themselves. Your horizontal fixture should be at least 24 inches long and provide a minimum of 150 watts of illumination.
How to avoid shadows on your face
The original setup of lights only above the mirror creates unflattering shadows under your eyes and chin. Recessed ceiling fixtures right over vanity areas also cause problematic shadows. The best approach uses cross-illumination with lights at face level. Side fixtures should complement any overhead lighting to eliminate shadows effectively.
Best lighting for bathroom mirror setups
Double vanities with two mirrors need three lights – one between the mirrors and one on each outer side. Natural daylight remains the best choice for makeup application, so try to incorporate it whenever possible. Your mirror’s backlighting serves as an excellent way to eliminate shadows while creating a pleasant ambient glow. The vanity lighting should provide 20 footcandles of illumination at face level to achieve optimal task visibility.
Layering Light Like a Pro
The secret to amazing bathroom lighting design comes from a technique called “layering” that revolutionizes ordinary spaces.
What is layered lighting?
Layered lighting blends different types of light fixtures. Each fixture serves a unique purpose to create depth, dimension, and versatility in your bathroom. This approach handles both practical needs and aesthetic desires. You can customize your space for different activities throughout the day.
Combining ambient, task, and accent lighting
Your foundation starts with ambient lighting that sets the tone for the entire space. Ceiling-mounted fixtures or recessed lighting provide this base layer.
Task lighting comes next with specific designs for makeup, shaving, or grooming. Wall sconces at eye level or LED mirrors give you shadowless illumination that you need for detailed activities.
Accent lighting adds the final touch to highlight architectural features, artwork, or create visual interest. This layer brings style and drama to your bathroom’s appearance.
Using dimmers to control mood and function
Dimmable fixtures make your bathroom more versatile – bright light for morning routines and soft illumination for evening baths. On top of that, it saves energy. A bulb dimmed by just 10% can last twice as long.
How to create a spa-like bathroom lighting design
The spa experience needs soft, diffused lighting (2700K-3000K) that covers surfaces in a flattering glow. Hidden lighting in wall or ceiling systems creates a calm, diffuse illumination.
Conclusion
Bathroom light fixtures deserve more attention than most homeowners think. The right lighting can completely change how you look in the mirror and how your makeup appears throughout the day.
Your choice of bulbs makes a huge difference in makeup application. The right color temperature (4800K-5000K) and a high CRI (90+) will help you achieve flawless makeup that looks great everywhere. These specs might seem small but they determine whether your makeup looks perfect or catches you by surprise in daylight.
The placement of your lights matters as much as the bulbs you choose. Eye-level fixtures on both sides will eliminate shadows that overhead lights usually create. This lighting technique helps you see your face clearly and apply products with better precision.
Multiple layers of light create a more versatile bathroom space. A combination of ambient, task, and accent lighting with dimmer switches gives you full control. You can switch between bright light for detailed makeup work and soft, warm light for relaxing baths.
Your bathroom lighting should be a priority, not an afterthought. The right fixtures do more than light up your space – they become vital tools in your daily routine. You’ll thank yourself every morning when your foundation matches perfectly and your makeup stays flawless.
Makeup artists rely on these principles to deliver consistent results. Now these secrets can work for you too. Your face – and your bathroom – will look completely different once you start applying makeup with proper lighting.