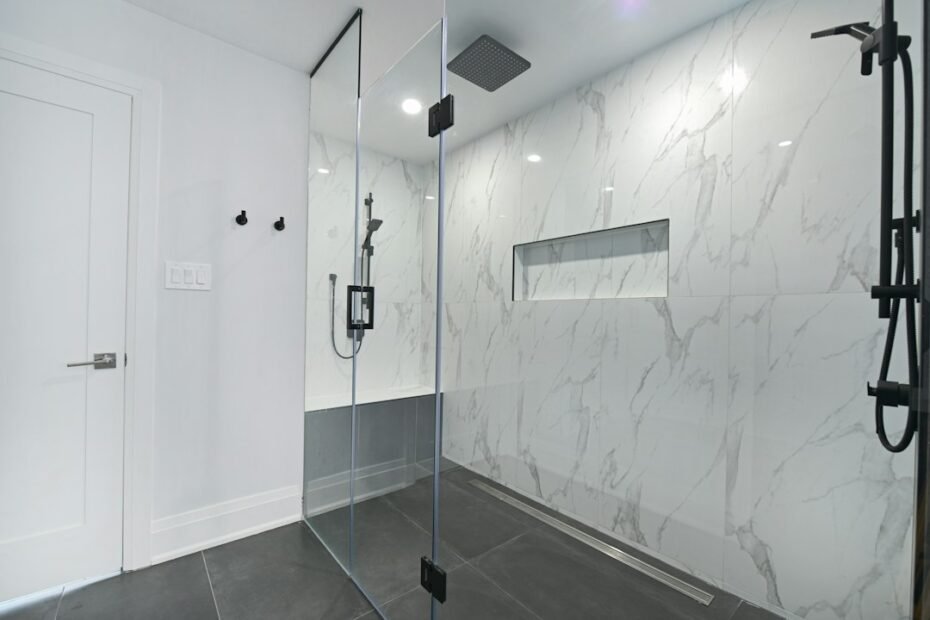
The most important part of a tiled shower is the part you’ll never see. Tile and grout look solid, but grout is porous, and water works its way through it every time you shower. What actually keeps that water out of your walls, subfloor, and the ceiling below is the waterproofing layer behind the tile. Get it right and a shower lasts decades. Get it wrong and you’re looking at hidden rot, mold, and a tear-out that can cost more than the original remodel.
This guide explains the main shower waterproofing systems, what each costs, where showers usually fail, and what to ask your contractor before any tile goes up.
Key Takeaways
- Tile, grout, and standard cement board are not waterproof. They need a membrane or waterproof board system behind them.
- There are four main approaches: sheet membranes, liquid-applied membranes, foam board systems, and the traditional mortar bed with a pan liner.
- Most leaks happen at the details: corners, curbs, drains, niches, and valve penetrations.
- A flood test before tile is cheap insurance. Codes commonly call for at least 24 hours.
- Waterproofing typically adds about $1,000 to $3,000 to a professional shower build, a small share of the total and far less than a leak repair.
Why Tile and Cement Board Aren’t Enough
It’s one of the most common misconceptions in bathroom remodeling. Ceramic and porcelain tile shed water well, but cement-based grout absorbs it. Standard cement backer board is moisture resistant, meaning it won’t fall apart when wet the way drywall does, but water passes through it. Without a dedicated waterproofing layer, moisture reaches the studs and framing behind the board and stays there.
That’s why modern shower assemblies treat the tile as a decorative finish and rely on a waterproof layer directly behind it (or a properly built pan beneath it) to do the real work. Waterproofing products for tile are generally tested to the ANSI A118.10 standard, so look for that on the label.
The Four Main Shower Waterproofing Systems
1. Sheet Membranes (Bonded Fabric Membranes)
These are thin, fleece-backed plastic sheets bonded to the backer board with thinset mortar, with overlapping seams and pre-formed corners. Schluter Kerdi is the best-known example.
- Pros: Uniform thickness every time, easy to inspect before tiling, and part of complete systems with matching drains, curbs, and niches.
- Cons: Seams and corners take care to overlap correctly, and the system works best with its own matching drain.
- Best for: Contractors and experienced DIYers who want a predictable, inspectable result.
2. Liquid-Applied Membranes
These are rubberized or cementitious coatings rolled or brushed onto cement board or another approved backer in multiple coats. Common products include RedGard and Laticrete Hydro Ban.
- Pros: Seamless coverage, easy to work around valves, niches, and odd angles, and relatively inexpensive in materials.
- Cons: Coverage depends on the installer applying the full wet-film thickness. Thin spots are the main failure risk, and corners and board seams usually need reinforcing fabric or mesh first.
- Best for: Budget-conscious projects and showers with lots of penetrations, as long as the installer follows the manufacturer’s coverage rate carefully.
3. Foam Board Systems
These lightweight boards have a waterproof foam core, so the board itself is the waterproofing. Only the seams, screw heads, and penetrations get sealed. Brands include Wedi, Kerdi-Board, and GoBoard. A related option is waterproof cement board, which also needs sealing only at joints and fasteners.
- Pros: Fast installation, very light to carry and cut, and many systems include pre-sloped shower pans, curbs, and benches.
- Cons: The highest material cost, and you need the manufacturer’s specific sealant and fasteners to keep the warranty valid.
- Best for: Remodels where speed matters, upstairs bathrooms where weight matters, and curbless or custom layouts.
4. Traditional Mortar Bed With Pan Liner
This is the old-school method: a sloped mortar base, a flexible PVC or rubber liner, a second mortar bed on top, and a clamping drain with weep holes. The walls typically use cement board with a moisture barrier behind it.
- Pros: Time-tested, uses inexpensive materials, and many veteran tile setters know it well.
- Cons: Labor-intensive and heavy. The tile and mortar stay saturated, and clogged weep holes can lead to odors and mildew. Workmanship at the curb and corners is critical.
- Best for: Installers who specialize in it. Many pros now prefer surface-applied membranes for new work.
Side-by-Side Comparison
| System | Relative Material Cost | DIY Difficulty | Main Failure Risk | Install Speed |
|---|---|---|---|---|
| Liquid membrane | $ (lowest) | Moderate | Thin coats, untreated seams | Moderate (drying time between coats) |
| Sheet membrane | $$ | Moderate | Poor seam overlaps | Moderate |
| Foam board system | $$$ (highest) | Easier | Unsealed seams or fasteners | Fast |
| Mortar bed + pan liner | $ | Hard | Curb and corner folds, clogged weep holes | Slow |
What Shower Waterproofing Costs in 2027
Costs vary widely by region, shower size, and system, so treat these as ballpark figures:
- Professional installation: Waterproofing typically adds about $1,000 to $3,000 to a tiled shower build, depending on size, the system used, and how many niches, benches, and penetrations there are.
- Liquid membrane materials: Often the cheapest route, usually a few hundred dollars for a standard shower including mesh and seam tape. Check the label for coverage at full waterproofing thickness, not primer thickness.
- Sheet membrane kits: Usually several hundred dollars to around $1,000 or more once you add a matching drain and pre-formed corners.
- Foam board systems: The highest material cost, often over $1,000 for a full shower with a pre-sloped pan, though faster installation can offset some labor.
Compare that to the cost of a failure. Tearing out a leaking shower, drying or replacing framing, treating mold, and repairing a damaged ceiling below can easily run several times the original waterproofing cost. To estimate the rest of your shower project, try our walk-in shower cost calculator, and use our tile calculator to figure tile, backer board, and membrane quantities.
Where Showers Actually Fail
Leaks rarely start in the middle of a flat wall. They start at transitions and holes, which is where your installer’s attention matters most.
- Inside corners and wall-to-floor transitions. These need reinforcement (pre-formed corners, fabric, or mesh) and should be finished with flexible sealant rather than grout, since grout cracks as the building moves.
- Curbs. The top and inside face of the curb take direct water. A common mistake is drilling through the waterproofed curb top to mount a shower door.
- The drain connection. The membrane has to bond to, or clamp into, the drain properly. Mixing a membrane with an incompatible drain is a recipe for leaks.
- Niches and benches. Their bottoms need to slope toward the shower so water drains off instead of pooling.
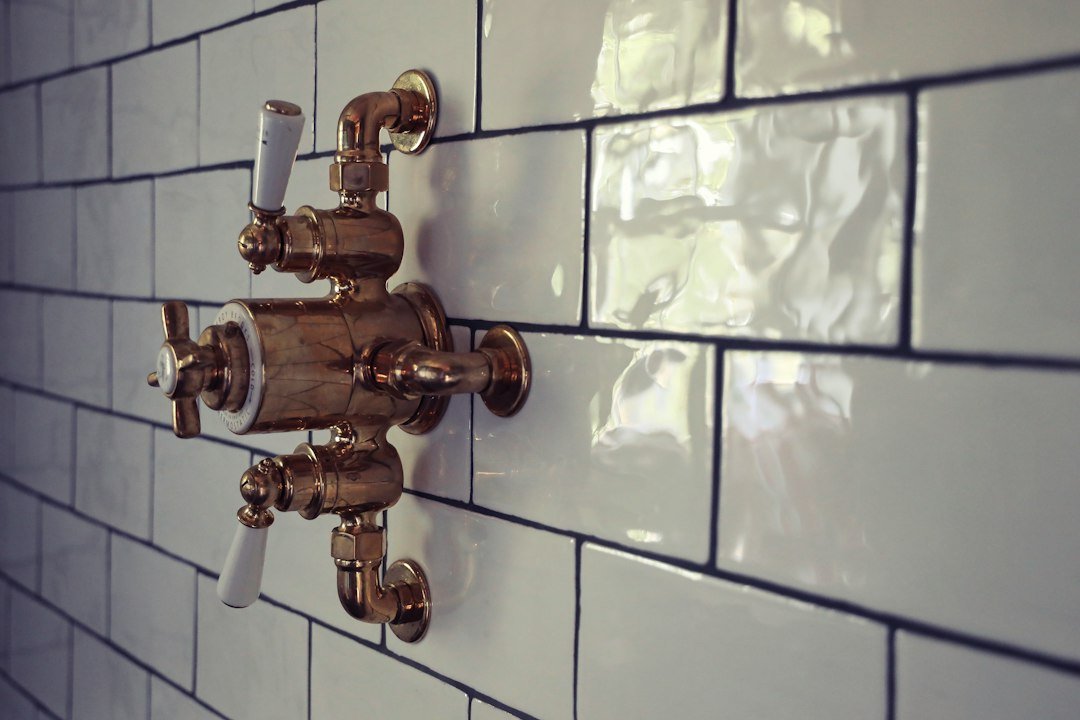
- Valve and showerhead penetrations. Each needs a gasket, collar, or sealant as specified by the membrane maker.
- The wrong backer board. Regular drywall or “green board” behind a tiled shower is a long-term failure waiting to happen.
Many shower leaks are slow and hidden, showing up years later as loose tile, a musty smell, or a stain on the ceiling below. Good ventilation helps the whole room dry out between showers; see our bathroom ventilation guide for fan sizing and placement.
The Flood Test: Don’t Skip It
A flood test proves the pan holds water before tile covers it up. The basic process:
- Plug the drain (below the weep holes on a traditional pan).
- Fill the shower floor with water to just below the top of the curb, and mark the level with tape.
- Wait at least 24 hours, a common code requirement. Some contractors go 48 hours in dry climates to account for evaporation.
- Check the water level and look for moisture below or around the shower. Any drop beyond normal evaporation means the leak has to be found and fixed before tiling.
Ask your contractor to photograph the test with the water level marked at the start and end. It takes a day on the schedule and costs almost nothing.
Questions to Ask Your Contractor
- Which waterproofing system are you using, and is it rated to ANSI A118.10?
- Are the membrane, drain, and sealants all from the same system or confirmed compatible?
- How will you treat corners, seams, niches, and the valve penetrations?
- Will you flood test before tiling, and will you send me photos?
- Does the manufacturer offer a system warranty, and will you register it?
- How will the shower door be mounted without puncturing the curb waterproofing?
If a contractor says “the tile and grout keep the water out,” keep looking. Our guide to choosing a bathroom remodel contractor covers more vetting questions.
Is Shower Waterproofing a DIY Job?
It can be, for a careful DIYer willing to follow the manufacturer’s instructions exactly. Foam board and sheet membrane systems are the most forgiving because the coverage is built in, and liquid membranes are the cheapest but demand patience with coat thickness and drying times. Whatever you choose, always flood test. If your shower sits over a finished ceiling or you’re building a curbless shower that requires recessing the subfloor, a professional is usually worth the cost.
Prefer to avoid grout and seams altogether? Our comparison of shower panels vs. tile explains when a panel system makes more sense.
The Bottom Line
Every reliable tiled shower depends on a continuous waterproof layer, sealed carefully at corners, curbs, drains, and penetrations, and proven with a flood test before tile goes on. Liquid membranes are the budget choice, sheet membranes are the most predictable, foam boards are the fastest, and a traditional mortar bed still works in skilled hands. The few hundred to few thousand dollars it adds is the best money you’ll spend in your remodel.
Ready to budget the whole project? Start with our free bathroom remodel cost calculator.
Join the Conversation
Which waterproofing system did you or your contractor use, and would you choose it again? Share your experience in the comments below.